
How to write EasyOS to a flash drive
Page originally created October 9, 2017,
updated December 9, 2018,
August 25, 2019, September 6, 2019
Completely rewritten August 4, 2022
EasyOS is a Linux distribution deployed as an image-file that may
be written to a USB Flash drive, then booted. There are two
aspects to this:
- After having downloaded the image-file, how do you write it to a USB Flash stick?
- How do you get the computer to "boot" (startup EasyOS) from
the USB drive?
This page has mostly been superseded by this one:
https://easyos.org/install/how-to-install-easyos-on-a-new-ssd.html
So, the page you are reading right now has been trimmed down to
just some extra useful information.
Please read that page, then read below...
EasyDD frontend for dd
This is a nice tool for writing an image file to a drive. It is
in EasyOS, but will work on any Linux distribution.
EasyDD may be run in a terminal on the commandline, or as a GUI. Even if you like to use the commandline in Linux, it is good to use EasyDD rather than 'dd' directly, as EasyDD helps to choose the correct target-drive, and does a lot of sanity checking.
It also verifies the write, by reading it back and checksumming against the original file.
EasyDD is in EasyOS, however, if you are not yet running Easy, you will have to download this utility. It is a script named 'easydd', and should work in almost every Linux distribution.
Get it from here:
http://bkhome.org/files/easydd.gz
Open a terminal window at the same folder where you downloaded
'easy-*-amd64.img'. Then download 'easydd' to the same folder and
run this:
# gunzip easydd.gz
# chmod 755 easydd
...the first line uncompresses the file, the second line makes it executable.
EasyDD can run as a fully-GUI application, or in CLI-mode. CLI means Command Line Interface. The GUI mode is nice, but it is likely that whatever Linux distribution you are currently using, does not have the required dependencies.
Here is a summary of how to run EasyDD:
| # easydd |
GUI |
No parameters, runs in GUI mode |
| # easydd <file> |
CLI |
image-file parameter, will ask for
target-drive |
| # easydd <file> <drive> |
CLI |
image-file and target-drive parameters |
| # easydd -h |
CLI |
Prints help info. Long option "--help" |
An example of row-3 is "easydd easy-4.3-amd64.img sdb", however, to minimize the possibility of choosing the wrong target drive, it is recommended that you choose row-2. Example:
# ./easydd easy-4.3-amd64.img
...notice the "./" prefix. You need that if you have downloaded
'easydd' to the current directory (and it is not in the $PATH).
Note also, the "#" -- you don't type that, it is the shell prompt,
and may be different in your Linux distro.
Do it as root
If you are running Puppy Linux or derivative, you will be logged in as the administrator, "root". Ditto for EasyOS. Other Linux distributions may require you to bump up to root, by running "su" or "sudo", before they will allow you to use easydd.
Next, you will be asked to plugin the Flash drive, then you choose it, then you write the file to it. It is very simple.
What size drive?
When EasyDD asks you to plugin a Flash drive, and you rummage around looking for one, choose 8GB or bigger. Well, 4GB will work, but only for an initial evaluation -- you will need more space for ongoing usage.
The point also needs to be made: do not use a "cheap and nasty" drive. A "bargain basement" drive will be slow and unreliable. You will find some comparisons here to be helpful:
https://bkhome.org/news/202205/first-test-wd-elements-se-ssd-480gb-and-comparisons.html
...note though, those bootup times are out-of-date. EasyOS since then has greatly improved the time from power-on to reaching the desktop.
USB Image Tool
This is a Windows utility for writing an image file to a
USB-stick.
Download: http://www.alexpage.de/usb-image-tool/download/
Before launching into a description of how to use USB Image Tool,
it is a very good idea to check that 'easy-*-amd64.img' was
properly downloaded. There is a Windows tool for doing this:
http://www.pc-tools.net/win32/md5sums/
Unzip it, and extract 'md5sums.exe' (usually achieved by
right-click, then choose to extract contents). The usage
instructions explain that if you drag 'easy-*-amd64.img' on top of
'md5sums.exe', it will display the md5sum hash-code. You can check
this against the content of the online 'md5sum.txt' file, to
verify that the file was downloaded correctly.
This is optional, but usually a good thing to do.
USB Image Tool does not have an installer, it is just a zip file
that you extract the files from wherever you want them. That is,
download, to say, the "Download" folder, then copy 'usbit.zip'
wherever you want it, then right-click on it and choose to extract
the contents. When you do so, you will see these files:
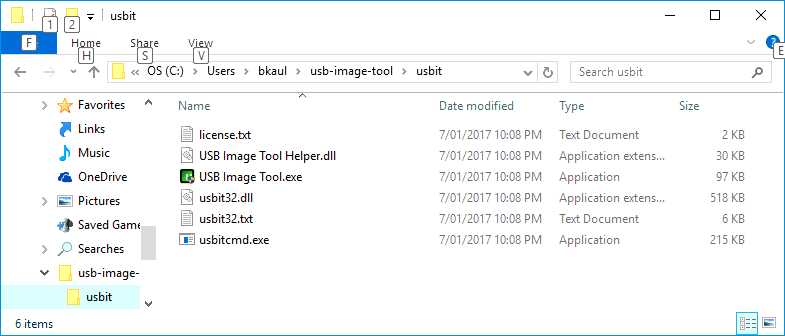
The one that you need to run is "USB Image Tool.exe" --
right-click on it and choose "Run as administrator".
If your USB Flash stick is already plugged in, you will see it on
the left side. Otherwise, plug it in and it should appear (see the
note earlier in this page; use a drive 4GB or greater, at least
8GB for ongoing usage). Notice at the top, "Device mode" is
selected, this is important:

Click on the Flash drive to highlight it, then click the "Restore"
button. You should have downloaded the image file beforehand, now
choose it:
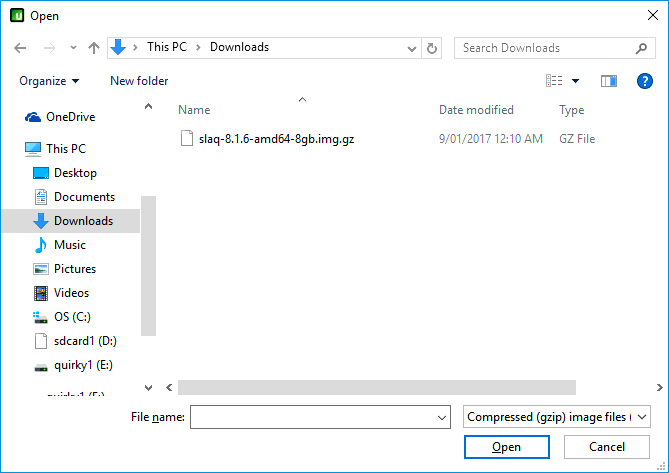
Easy, just highlight the file (whatever you have downloaded; the
above snapshot shows 'slaq-8.1.6-amd64-8gb.img.gz', which is an
early Quirky Linux image file) then click the "Open" button. Then
just watch as the file is written to the drive:
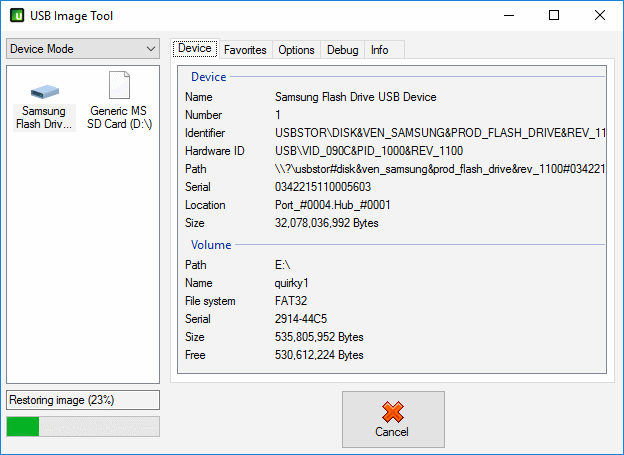
One thing to be careful about. Looking at the above snapshot, you
might think it reasonable that writing is finished when it reaches
"100%". Not so, it actually went to almost "300%" before
finishing. So wait until the green bar goes away entirely.
Do not yet unplug the Flash stick! It is now ready to use,
however, with Windows you must first select "Safely eject drives"
from the tray:
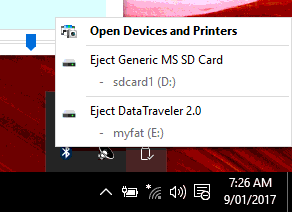
This ensures that Windows has fully flushed everything to the
drive. If you just pull out the drive without doing this, it is
possible the tail-end of the write operation was not fully written
to the drive, even if you have finished and exited from USB Image
Tool.
In the example shown above, the Flash drive that is plugged-in is
named "Data Traveler 2.0". There is also an SD-card inserted.
Have fun!
Disclaimer: Information is provided "in good faith", however the author accepts no liability whatsoever, and you apply the instructions on this page, and subsequent tutorial pages, with this understanding.
Tags: install